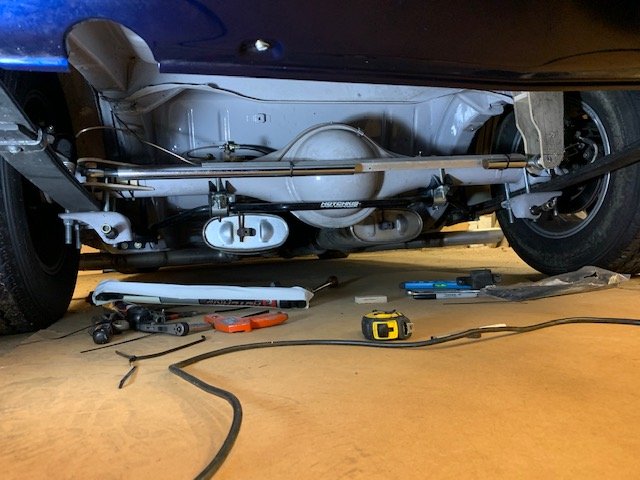
Started on the Panhard rod today
Geometrically, the rod needs to be as long as possible - and horizontal at ride height.
I want to attach the rod directly to the axle rather than the spring shackle plate, as the axle is where the load originates. If the car can generate corner forces of , say, 1.2 G - then there's going to be around 850 Kg sideways force on the linkage and brackets - and I'd rather not transfer this load through the shackle plate, U-bolts etc just to get it from the axle to the rod.
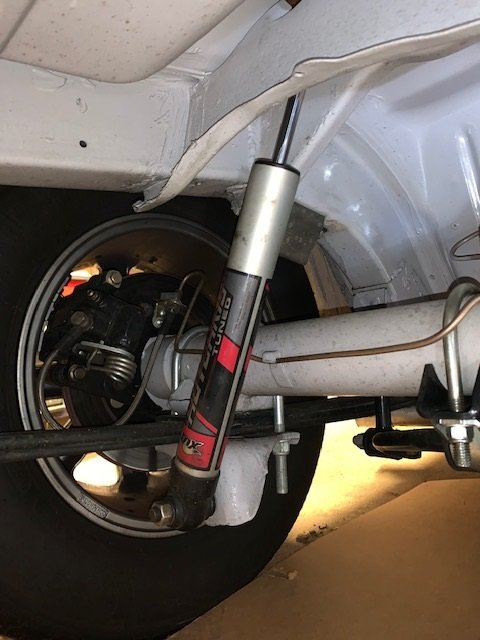
Initially, it looks like the shocks will be in the way, and will have to be relocated to in front of the axle. It looks like there will be room for them there.
- IMG_0808.jpg (56.14 KiB) Viewed 1727 times
- IMG_0811.jpg (48.04 KiB) Viewed 1727 times
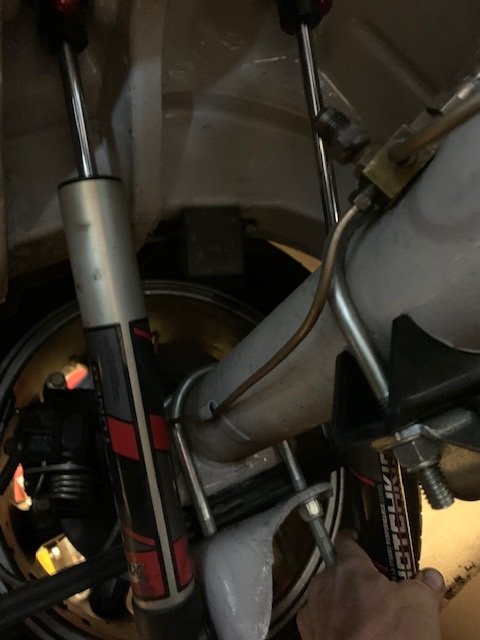
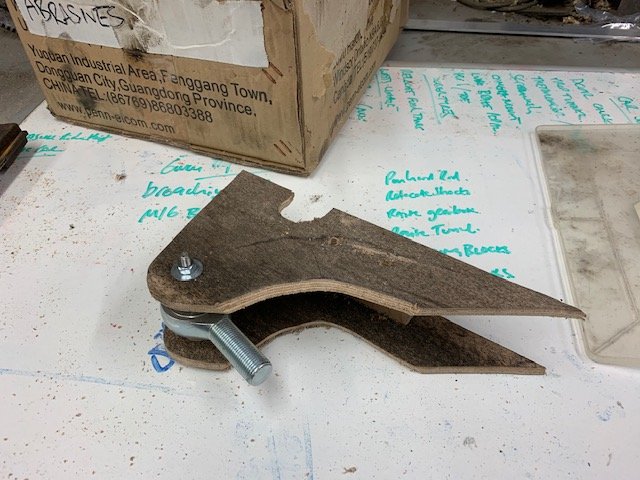
Axle brackets mocked up from thin plywood. The bolt through the rose joint eye will eventually be M16 , and there will be gussets.

- IMG_0816.jpg (89.92 KiB) Viewed 1727 times
And in position.

- IMG_0819.jpg (71.29 KiB) Viewed 1727 times
Other side - this bracket will be triangulated over to the other chassis rail eventually
- IMG_0821.jpg (67.55 KiB) Viewed 1727 times
And the whole thing
- IMG_0823a.jpg (70.08 KiB) Viewed 1727 times
At this point, I notice that the RH shock will actually reattach with the panhard rod in place, although the LH presents more of a problem.
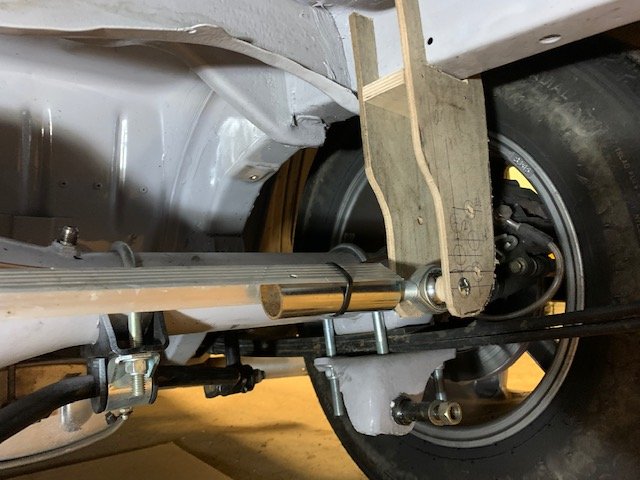
Mock up a larger bracket, with the rod spaced about an inch further away from the axle tube.
- IMG_0825.jpg (80.12 KiB) Viewed 1727 times
And fit.

- IMG_0826.jpg (70.82 KiB) Viewed 1727 times
I'm not entirely happy with the leverages involved with this larger bracket - even with added gussets round the relieved part , but will sleep on it. There is also currrently very little clearance between the shock and the panhard rod.
But if I can get around relocating the shocks, it will save a ton of work.