
RobTwin wrote:Thanks Steveosteveo wrote:looking good R & S twinnice work going on
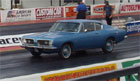
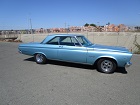
Rob & Stu's 69 Sport Satellite
Moderator: Moderators
Rich wrote:Gareth wrote:Roger, it doesn't look like Motor Parts South have a website. A phone call looks like your only option. Try 704-435-2692.
They are also on Facebook but are not an active user.
rich likes this..hows it going Gareth ???car wise that is,Im not being generally nosey
Doin' okay Rich ! Plenty going on. Don't wanna hijack Robs thread so will catch up soon by pm.
All we are is rust in the wind

Sorry Roger, I'll get some more info off Stu (he ordered it). The original info on them came from a thread on Moparts. Their carpet was being sold by the guy that runs ECS (that do decals etc) but I think he ceased being involved with the carpet side of things, so we ordered direct from the manufacturer.Roger wrote:I might be a bit dim, but i cant find a company called motor parts south on the interweb???????? Are they called something else?RobTwin wrote:Hi Roger, the grey stuff that fits just in the footwells came with the carpet, from MPS. But we got the other thinner, black/grey underfelt from a vendor at the NEC Classic Car show.
Hope that helps...
I just did a quick seach on Motor Parts South.... the 1st link I came across was this thread on For A Bodies Only - see the last post.
http://www.forabodiesonly.com/mopar/sho ... hp?t=83288

No worries Rich/Gareth - chat awayGareth wrote:Rich wrote:Gareth wrote:Roger, it doesn't look like Motor Parts South have a website. A phone call looks like your only option. Try 704-435-2692.
They are also on Facebook but are not an active user.
rich likes this..
Doin' okay Rich ! Plenty going on. Don't wanna hijack Robs thread so will catch up soon by pm.
And post your car progress in the Workshop
Didnt realise you'd 'finished the resto'steveo wrote:RobTwin wrote:Thanks Steveosteveo wrote:looking good R & S twin

, the plan is the euronats , or brooklands , mainly the nats . although been saying that for a while / years even , ever since i finished the resto ! , but something always crops up one way or another , that stops me taking the charger every year , ( never mechanical problems though

)
Wherever you choose Steve... cant wait to see you both!
RobTwin wrote:Didnt realise you'd 'finished the resto'steveo wrote:RobTwin wrote: Thanks Steveo
Wherever you choose Steve... cant wait to see you both!
yes , bit & bobs ! had a few things i've wanted to change , after it was all back together , one minute its ready to go , then i think hmmm i'll just change this , then get half way through , then change again !
then , life gets in the way
woops getting a bit carried away & hijacking your thread , sorry R &S Twin
RobTwin wrote:Sorry Roger, I'll get some more info off Stu (he ordered it). The original info on them came from a thread on Moparts. Their carpet was being sold by the guy that runs ECS (that do decals etc) but I think he ceased being involved with the carpet side of things, so we ordered direct from the manufacturer.Roger wrote:I might be a bit dim, but i cant find a company called motor parts south on the interweb???????? Are they called something else?RobTwin wrote:Hi Roger, the grey stuff that fits just in the footwells came with the carpet, from MPS. But we got the other thinner, black/grey underfelt from a vendor at the NEC Classic Car show.
Hope that helps...
I just did a quick seach on Motor Parts South.... the 1st link I came across was this thread on For A Bodies Only - see the last post.
http://www.forabodiesonly.com/mopar/sho ... hp?t=83288
Roger - got an email address for Motor Parts South:
motorpartssouth@yahoo.com
The bloke Stu dealt with was named Bill. Sorry, no surname...
CheersRobTwin wrote:RobTwin wrote:Sorry Roger, I'll get some more info off Stu (he ordered it). The original info on them came from a thread on Moparts. Their carpet was being sold by the guy that runs ECS (that do decals etc) but I think he ceased being involved with the carpet side of things, so we ordered direct from the manufacturer.Roger wrote: I might be a bit dim, but i cant find a company called motor parts south on the interweb???????? Are they called something else?
I just did a quick seach on Motor Parts South.... the 1st link I came across was this thread on For A Bodies Only - see the last post.
http://www.forabodiesonly.com/mopar/sho ... hp?t=83288
Roger - got an email address for Motor Parts South:
motorpartssouth@yahoo.com
The bloke Stu dealt with was named Bill. Sorry, no surname...
Bit more progress but not many pics to show for it
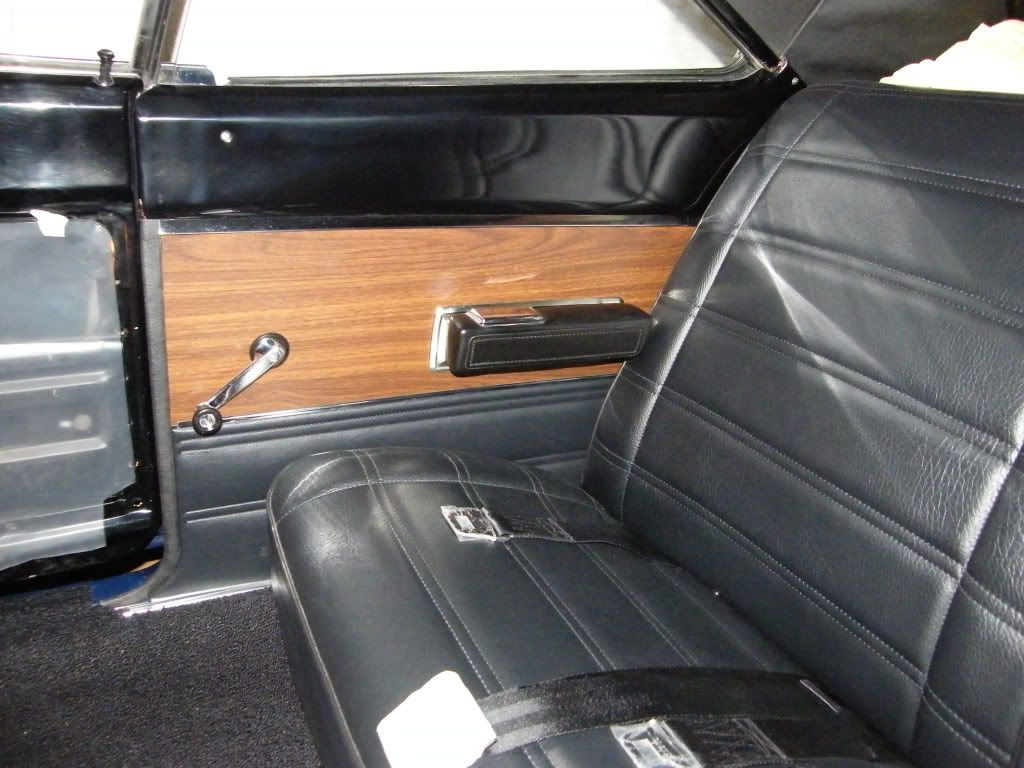
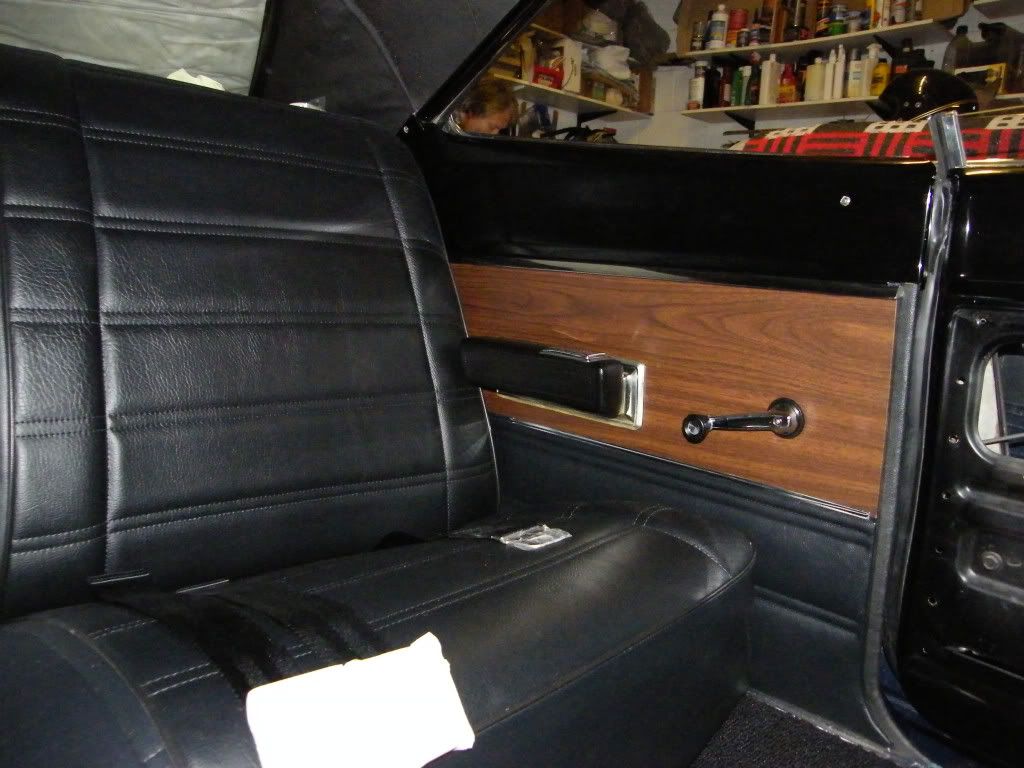
Next weekend I'll hopefully get some pics of the finished rear 'door' panels which Stu has fitted. Arm rests still to go on but they're waiting till the rear seat base is in.
Top/back section of rear seat is in ok but we struggled today to get both sides of the base in - dunno what's stopping it go fully home into both of its 'brackets' in the floor Dont think it's the extra carpet we've put under there cos that's already been trimmed back to clear, but it's certainly tighter than it should be
One successful job that was accomplished today was to collect the tyres we ordered from Summit, from Ron @ STS Imports.
215/70x15 & 235/70x15 BFGs. Not exactly the widest tyres that will fit under a b-bod, which i know we'll get slated for, from some areas but they are the widest you can get in redlines. Or at least proper redlines that are legal to import, with proper red lines that arent just stuck onto plain tyres (eg Diamondback)
Not quite ready to fit them yet so for now they'll stay out the way in the Polara's trunk.
Yes that's 5 tyres in there. Try that in your cuda/challenger
Next weekend I'll hopefully get some pics of the finished rear 'door' panels which Stu has fitted. Arm rests still to go on but they're waiting till the rear seat base is in.
Top/back section of rear seat is in ok but we struggled today to get both sides of the base in - dunno what's stopping it go fully home into both of its 'brackets' in the floor
One successful job that was accomplished today was to collect the tyres we ordered from Summit, from Ron @ STS Imports.
215/70x15 & 235/70x15 BFGs. Not exactly the widest tyres that will fit under a b-bod, which i know we'll get slated for, from some areas
Not quite ready to fit them yet so for now they'll stay out the way in the Polara's trunk.
Yes that's 5 tyres in there. Try that in your cuda/challenger
- Attachments
-
- DSCF0206 (Large).JPG (128.53 KiB) Viewed 2181 times
Well it seemed like a good idea at the time
Must have been that extra carpet we tried to use as insulation under the seat base that was stopping it going in, cos once we'd removed the jammed-in seat base (one side was stuck, the other wouldnt go in at all ), then took the extra carpet out, we got the seat base in relatively easy
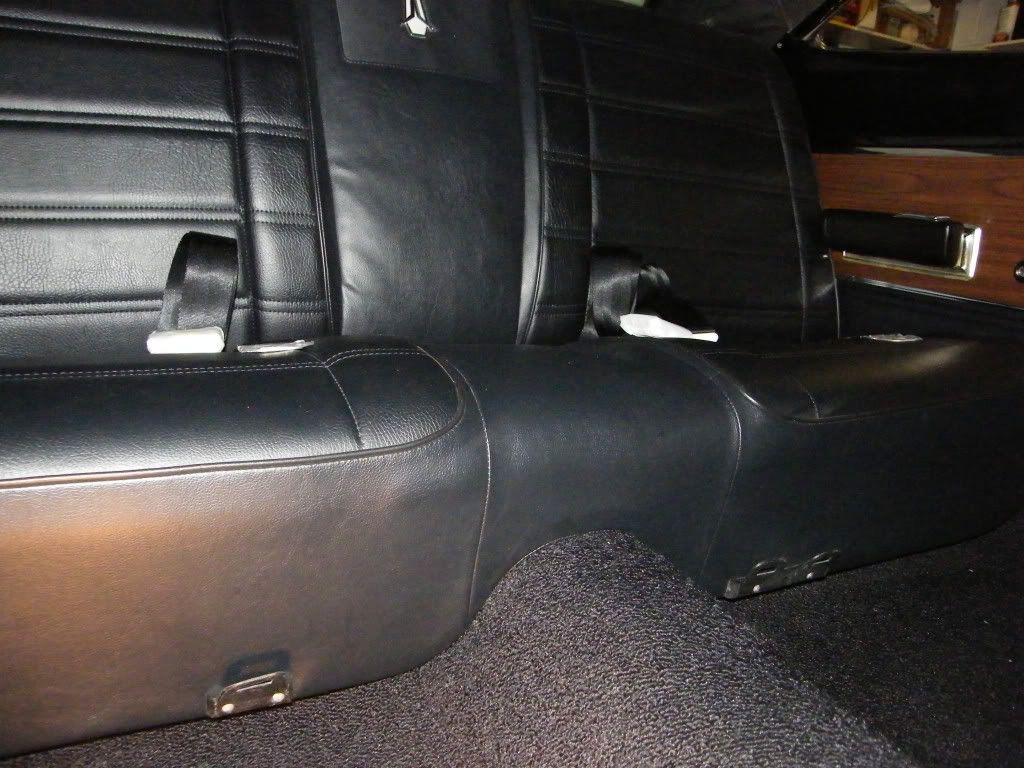
So with the arm rest fitted, that's the rear of the interior finished.
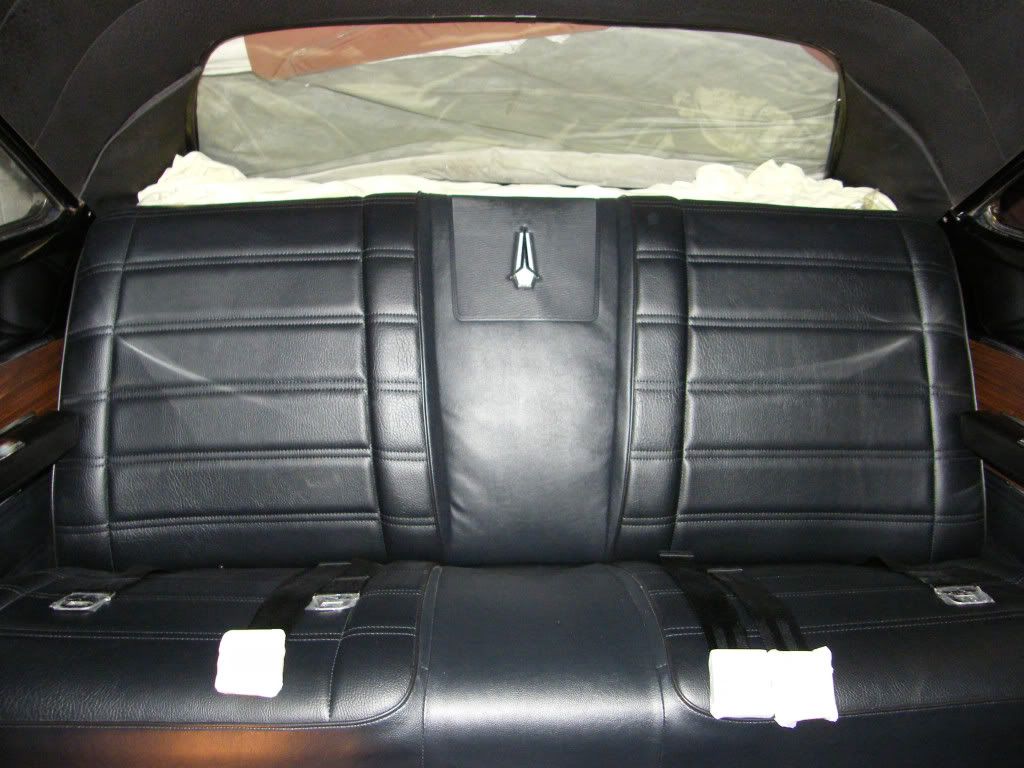
Seat fits nice & snug over the tunnel now
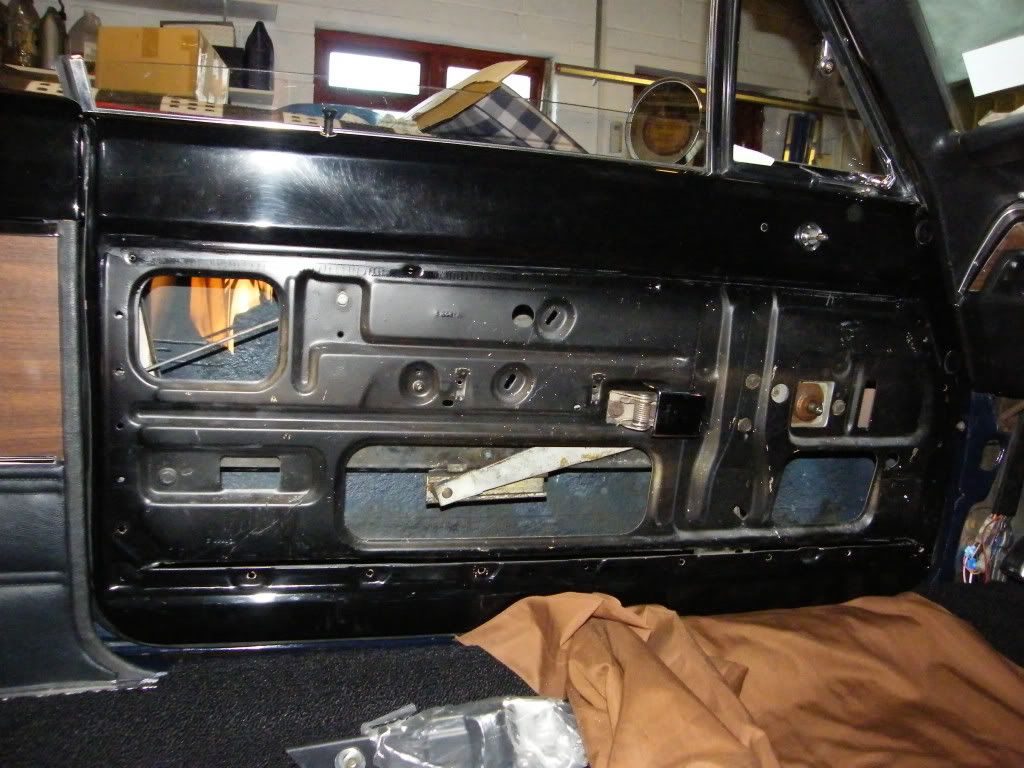
Although the front door panels could wait till after the car's up & running, where it's positioned in the garage (ie close to the wall), it would be tricky to fit the passenger side door panel once the front seat is in, so thought we may as well crack on & get the front panels fitted next.
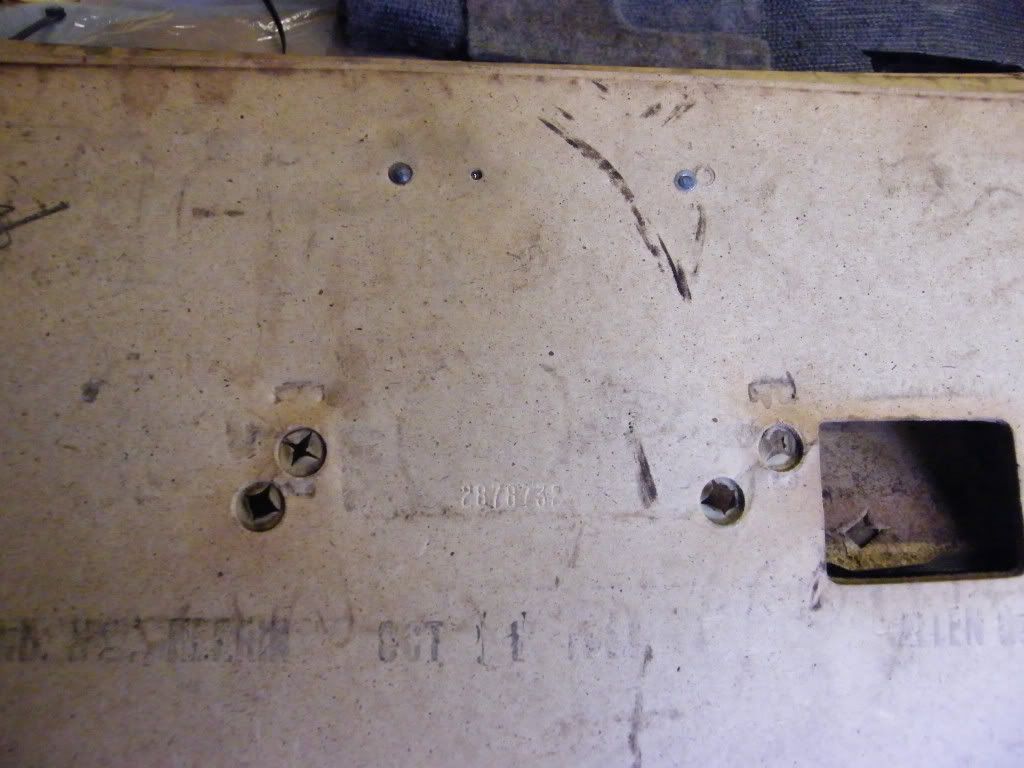
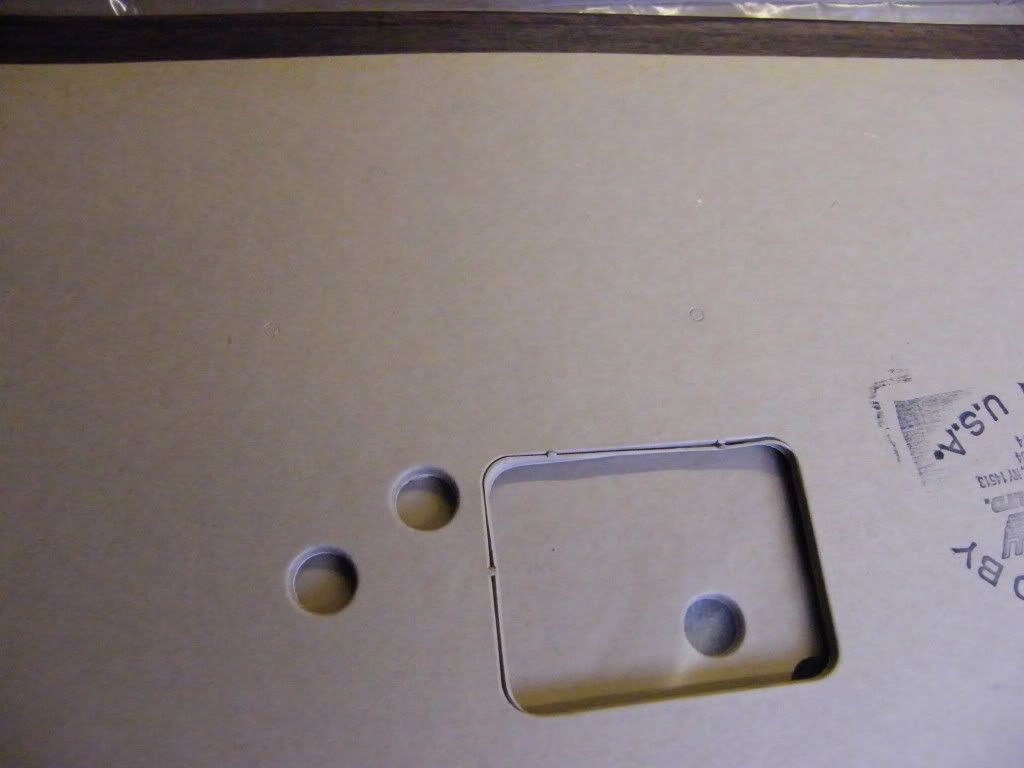
Next obstacle is to transfer the emblem that's on our original panels to the new ones. Quite a common theme with these resto panels & seat covers; having to reuse some existing hardware, so no great surprise, but these badges are riveted on
Stu's emailed Legendary so we'll see what advice the have.... if any... before we start grinding the old rivets off
Driver's side cleaned up, lubed & ready for new panel.... but not until we've refitted the old emblem

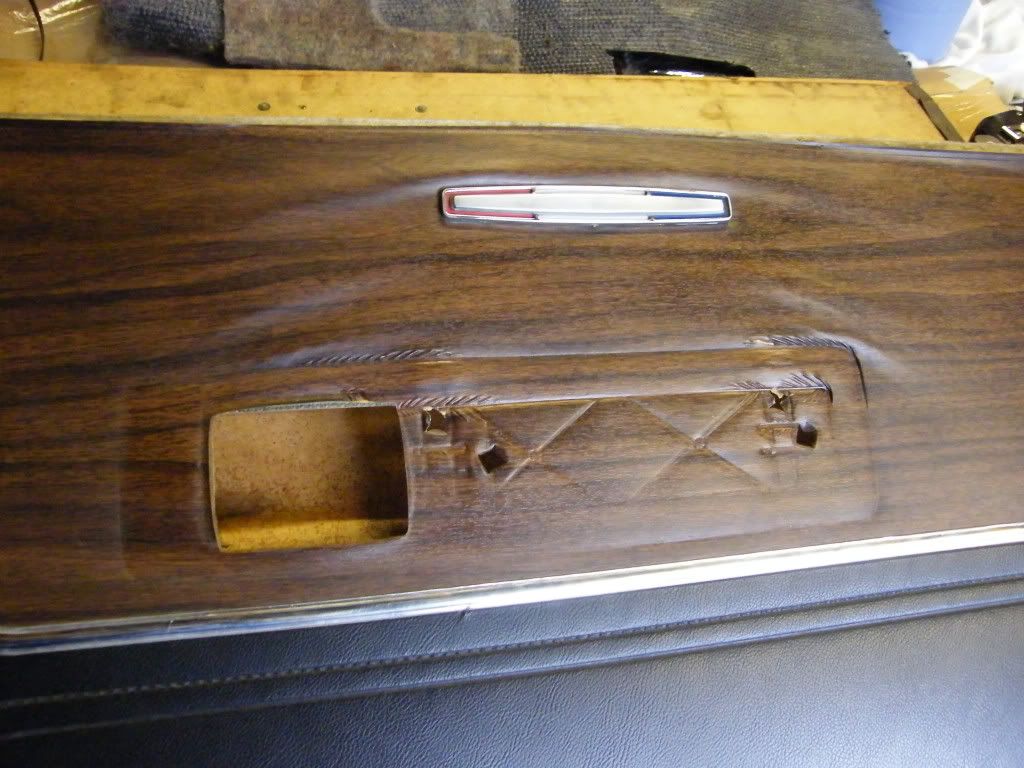
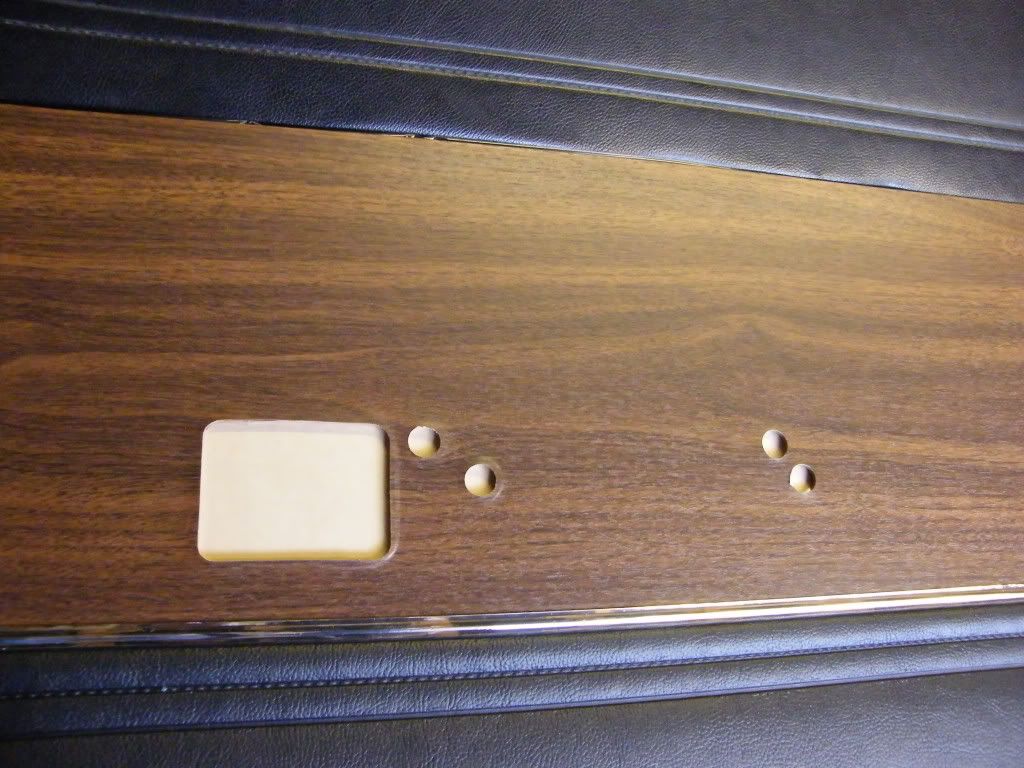
pre-punched holes just about visible, but way out of position (too low)
Once those panels are on, we can get the passenger seat back in, then the console, then the steering column, the drivers seat, bench-bleed the master cyl, refit then bleed the brakes, then see if the darn thing works!
Oh and get an MOT.
All before the end of May
Must have been that extra carpet we tried to use as insulation under the seat base that was stopping it going in, cos once we'd removed the jammed-in seat base (one side was stuck, the other wouldnt go in at all
So with the arm rest fitted, that's the rear of the interior finished.
Seat fits nice & snug over the tunnel now
Although the front door panels could wait till after the car's up & running, where it's positioned in the garage (ie close to the wall), it would be tricky to fit the passenger side door panel once the front seat is in, so thought we may as well crack on & get the front panels fitted next.
Next obstacle is to transfer the emblem that's on our original panels to the new ones. Quite a common theme with these resto panels & seat covers; having to reuse some existing hardware, so no great surprise, but these badges are riveted on
Stu's emailed Legendary so we'll see what advice the have.... if any... before we start grinding the old rivets off
Driver's side cleaned up, lubed & ready for new panel.... but not until we've refitted the old emblem
pre-punched holes just about visible, but way out of position (too low)
Once those panels are on, we can get the passenger seat back in, then the console, then the steering column, the drivers seat, bench-bleed the master cyl, refit then bleed the brakes, then see if the darn thing works!
Oh and get an MOT.
All before the end of May
Last edited by RobTwin on Tue Apr 17, 12 8:18 am, edited 2 times in total.

Hey Guys
All looking great.
It looks like the widow up position stop is missing from the front door it mounts tot he door in those two diagonal slotted bolt holes. if you need a picture of what it look like let me know and I will take one of mine.
If you don't have it and you wind the window up too far and close the door you could smash the glass. The stop to adjust the down position is on the regulator by the window winder the nut with slotted screw in the middle.
yes a pic would be useful. But when we wind the window up with the door open, I'm sure it stops at the right position - ie not too high. We've had the car for nearly 27 years so thought we'd have smashed the glass by now if there was something missing
Unless Stu lost it while he was fiddling around
-
latil
- Posts: 12076
- Joined: Tue Feb 01, 05 10:37 pm
- Location: Steve Pearson MMA/014. East Grinstead and Carmarthen.
With the emblem,how about carefully drilling the backs of the rivets off then with a depth stop drill the emblem to take self tappers from behind?
1965 Belvedere 2 426 Wedge.
Climate change,global warming,the biggest tax raising scam ever devised by man for mankind.
Motivating Our People,Accelerating Rapidly.
Climate change,global warming,the biggest tax raising scam ever devised by man for mankind.
Motivating Our People,Accelerating Rapidly.
Here are the pictures of the stop bracket you seem to be missing.
When I don't have this adjusted right my window will hit the rubber stop at the top of the quarter window and them the back of the window will go up a bit higher and snag on the stainless steel trim above the door opening.
When I don't have this adjusted right my window will hit the rubber stop at the top of the quarter window and them the back of the window will go up a bit higher and snag on the stainless steel trim above the door opening.
- Attachments
-
- 3.JPG (73.73 KiB) Viewed 2069 times
-
- 2.JPG (74.23 KiB) Viewed 2069 times
-
- 1.JPG (76.35 KiB) Viewed 2069 times